End */
Showing posts with label natural. Show all posts

Tuesday, April 7, 2015

Simple Living Hairspray

   
I love the hold on this product.

If the statement above is true, then this hairspray makes me wonderwoman.

How much more simple can you get than three ingredients for a great holding hairspray. Best of all it costs less than a dollar to make!

Ingredients:
-3/4 cups boiled water
-1 tbsp white sugar (or raw sugar)
-1/2 tbsp vodka or white rum (I prefer vodka to avoid the rume scent)
-you can add about 7 drops of essential oil for a scent, but I never do

Directions:

1. Boil your water in a saucepan.
2. Once boiling add the sugar and stir to desolve.
3. Add the alcohol and give it time to heat up (boiling is not necessary) 
4. Allow it to cool before putting it in a spray bottle.

Any spray bottle will do. I use one of the TSA approved ones from the travel toiletries section in any supermarket, pharmacy store, Walmart, Target, etc. That way I can easily take it in my purse for hair emergencies whenever they strike. You can even use a larger all-purpose type spray bottle if you like.

Some tidbits of information. This hairspray does have an expiration date based on the fact that it has sugar in it. I find it takes a few months for it to spoil. But on the upside of things, this hairspray can be easily brushed out of your hair. Unlike store-bought sprays you don't have to wash your hair immediately after using. You can brush it out and go to bed after your night out on the town. The next day your hair will be fine and not at all stiff.


The Real Clean Detergent

                                   
Here's a recipe for you. You may not think about it, but your laundry detergent is in your life a lot more than you may think. And like a clingy ex-boyfriend, the toxins are lingering. Chemicals that you can't even pronounce are still in the fibers of your clothes where your skin is exposed to them all day, every day. If you're like me then you like to expose your skin to things you clearly understand like baking soda, and the coconut oil this soap is based in. 

Even better you use far less of this detergent per load. Therefore it's a good way to save money. Especially since it's cheaper by volume anyway (about half the cost of name brand detergent per gallon). 


Two things you should know about this laundry soap. 
1. It is very effective. I haven't mentioned this before but my husband serves on a naval submarine. If you are familiar with submarines then you know that the smell that permeates everything on that boat can be the bane of a laundry-woman's existence. It is next to impossible to get rid of. Yet the baking soda in this recipe gets rid of it better than anything I've ever used. Furthermore this recipe leaves a pleasant lavendar scent. 

2. I do use borax in this recipe. A lot of bloggers and natural health enthusiasts have expressed concern over the use of borax. However, since I have not been able to find any real evidence against borax, I choose to use it as my mother and my grandmother before me used it. If it makes you nervous leave it out of this recipe. Just know that the detergent will be less effective at removing stains, particularly sweat stains (the kind that love to appear in pits and around dress shirt collars). 

Here's the recipe:

-1/2 bar of scented coconut oil soap (grated) 
-2 cups of baking soda
-1 and 1/2 cups super washing soda
-1/2 cup and up to 1 cup of borax

Directions:

1. Grate half a bar of the soap into your container (I use a big ol' coffee tin)
2. (only if your soap is unscented for some reason) add 10 drops of essential oil (like lavendar) to the grated soap, mix, and let sit for 15 minutes or so.
3. Add in the baking soda, washing soda, and borax. 
4. Mix carefully, the baking soda tends to powder puff everywhere!
5. Use WAYYYYY less of it than you would store bought soap. About 2-3 tbsp of it. (More like 1/3 of a cup on submarine laundry).

If you like this recipe and you want to get even more homemade, I am currently working on soap recipes for a coconut oil based soap. I can't wait to share it with you! 

Vinegar All-Purpose Cleaner

Here's a fun twist on a classic homemade cleaner. It's also one of the simplest things for you to start with if you're not ready for the headfirst dive into all-natural home care.

Vinegar is a great natural cleaner. Your grandmother knew this, as did mine. So why are we dumping a litany of chemicals into our homes around ourselves and our loved ones? 

Not only is this the safer alternative to store-bought all-purpose cleaner, but it is also the most effective cleaner I've EVER used on my stove. I just spray it on the stove. Turn around and wipe off the counters, and by the time I'm done wiping the counters the vinegar has disolved the gunk on my stove making it simple to wipe right off!

Best of all, here's the fun part, this recipe leaves a clean citrus scent behind.

Recipe:

-1 clean, and NEW spray bottle
-1 part water
-1 part vinegar
-the peel of one orange

So here's how you accomplish this recipe:

1. Find yourself an orange. Remove the peel and place it in a bowl (and in the interest of not being wasteful, eat the orange!)

2. Pour vinegar into the bowl. About a cup or cup and a half. It should be half the amount that will fit in your empty spary bottle.

3. Let this mixture sit for about two weeks.

4. Once it's sat for two weeks strain the orange peel and pieces out of the vinegar. 

5. Pour the cleaned vinegar into the bottle. 

6. Add a matching amount of water.

7. Spray and clean as you would normally, but with no fear of harmful chemicals.

The benefits of using a citrus and vinegar cleaner are multiple. The most important benefit is that both citrus and vinegar help to cut through grime, thus making this cleaner as effective as possible. Not to mention the scent I mentioned earlier. 

I also wanted to explain that it is important that you use a new and clean bottle. I bought a cheap one that was easy enough to find at Walmart. The reason this is so important is that when you reuse old bottles, depending on what used to be in the bottle you could be spreading dangerous chemicals like bleach or ammonia. You can't be positive that you've completely cleaned your recycled bottle: so please be safe and just buy a new bottle. 

Deodorant for the Natural Beauty Queen

All Natural and Effective Deodorant

This is one of my favorite body care products to make. I love that it doesn't build up chemicals in my body (like studies have been telling us about store bought deodorant for as long as I can remember). I also love how effective it is and how great it feels. I have never found a store bought deodorant I actually liked.


How it works is important to most of you, so I will offer a short explanation. Baking soda is the odor remover. It is a very effective odor remover (see, look MIT agrees with me). Besides the odor remover, you are adding a scent via essential oil, that way you smell fresh rather than just lacking odor. The oils and waxes you add are all for application purposes. They keep your skin softer and more pampered than just applying straight baking soda. They also allow you to use this deodorant the way you would store bought deodorant, thus you don't have to change your routine. Finally the arrowroot powder is just a base to help stick all the ingredients together smoothly. But, as I said, the baking soda is the only "active" ingredient.

Disclaimer: You are accustomed to wearing a deodorant and antiperspirant combo bought in the store. This is *not* and antiperspirant, so it will not keep you as dry as you may be used to. It may take some getting used to, but as I said I prefer this!

Here's the recipe:

~2 Tablespoons coconut oil 

~2 Tablespoons shea butter, cocoa butter or mango butter (I use one Tbsp each of shea and cocoa butter)

~2 Tablespoons + 1 tsp  soy wax

~1 tablespoons baking soda

~2 Tablespoons organic arrowroot powder

~A few drops of essential oil (I like peppermint to keep a nice clean scent. Lavender is also a good choice). If you're like me and you think essential oils are often expensive then you can use peppermint or other extract. If you're using food grade extract add about 1/3 of a teaspoon. Just guess, it's okay to estimate here.

~Optional: Vitamin E oil as a preservative (I just add a couple drops to help this recipe last months)

Making this looks a bit like a chemistry project, or a drug lab, but I promise you can make it with items found in your house. 

Directions:

1. Find a a small pot and a small glass jar or container. Gather all your ingredients and measuring utensils. You will also need a metal spoon or some other metal stirring utensil (it won't be damaged it's just easy to remove wax from metal as opposed to wood or plastic).

2. Fill the pot with one inch of water and place the jar in the middle of the pot. You will melt your ingredients in this jar.

3. Bring water to a boil.

4. Add your soy wax, shea/cocoa/mango butter, and coconut oil. Stir occasionally until the mixture is fully melted. 

5. Add baking soda and arrowroot powder. Stir together.

6. Add essential oil or extract.

7. Stir thoroughly

8. Remove from heat and set aside. Let it cool for about an hour.

9. Pour into your deodorant container. (See directions below for preparing your container).

Now that you have your deodorant set aside and cooling you're probably realizing that you need to have a way to apply it. You have a while to prepare your container since the deodorant takes over 24 hours to fully set and be ready for use. 

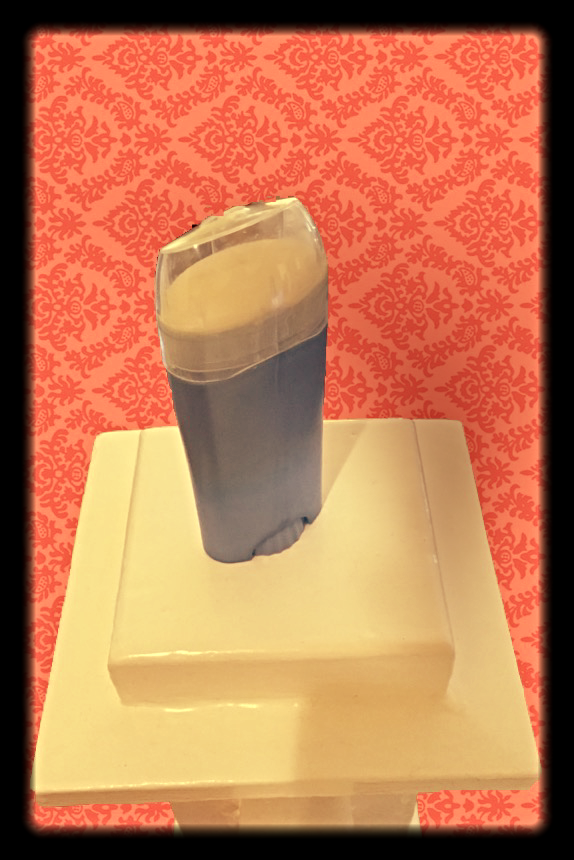
This is a soft deodorant. You can make a harder type by using beeswax or about 2x the amount of soy wax in this recipe. However, the softer version applies more easily and is less messy. So for this soft deodorant you will need an empty "soft solid" deodorant container entirely because you need the inner cap that allows for the even application of your deodorant. I chose the one below.


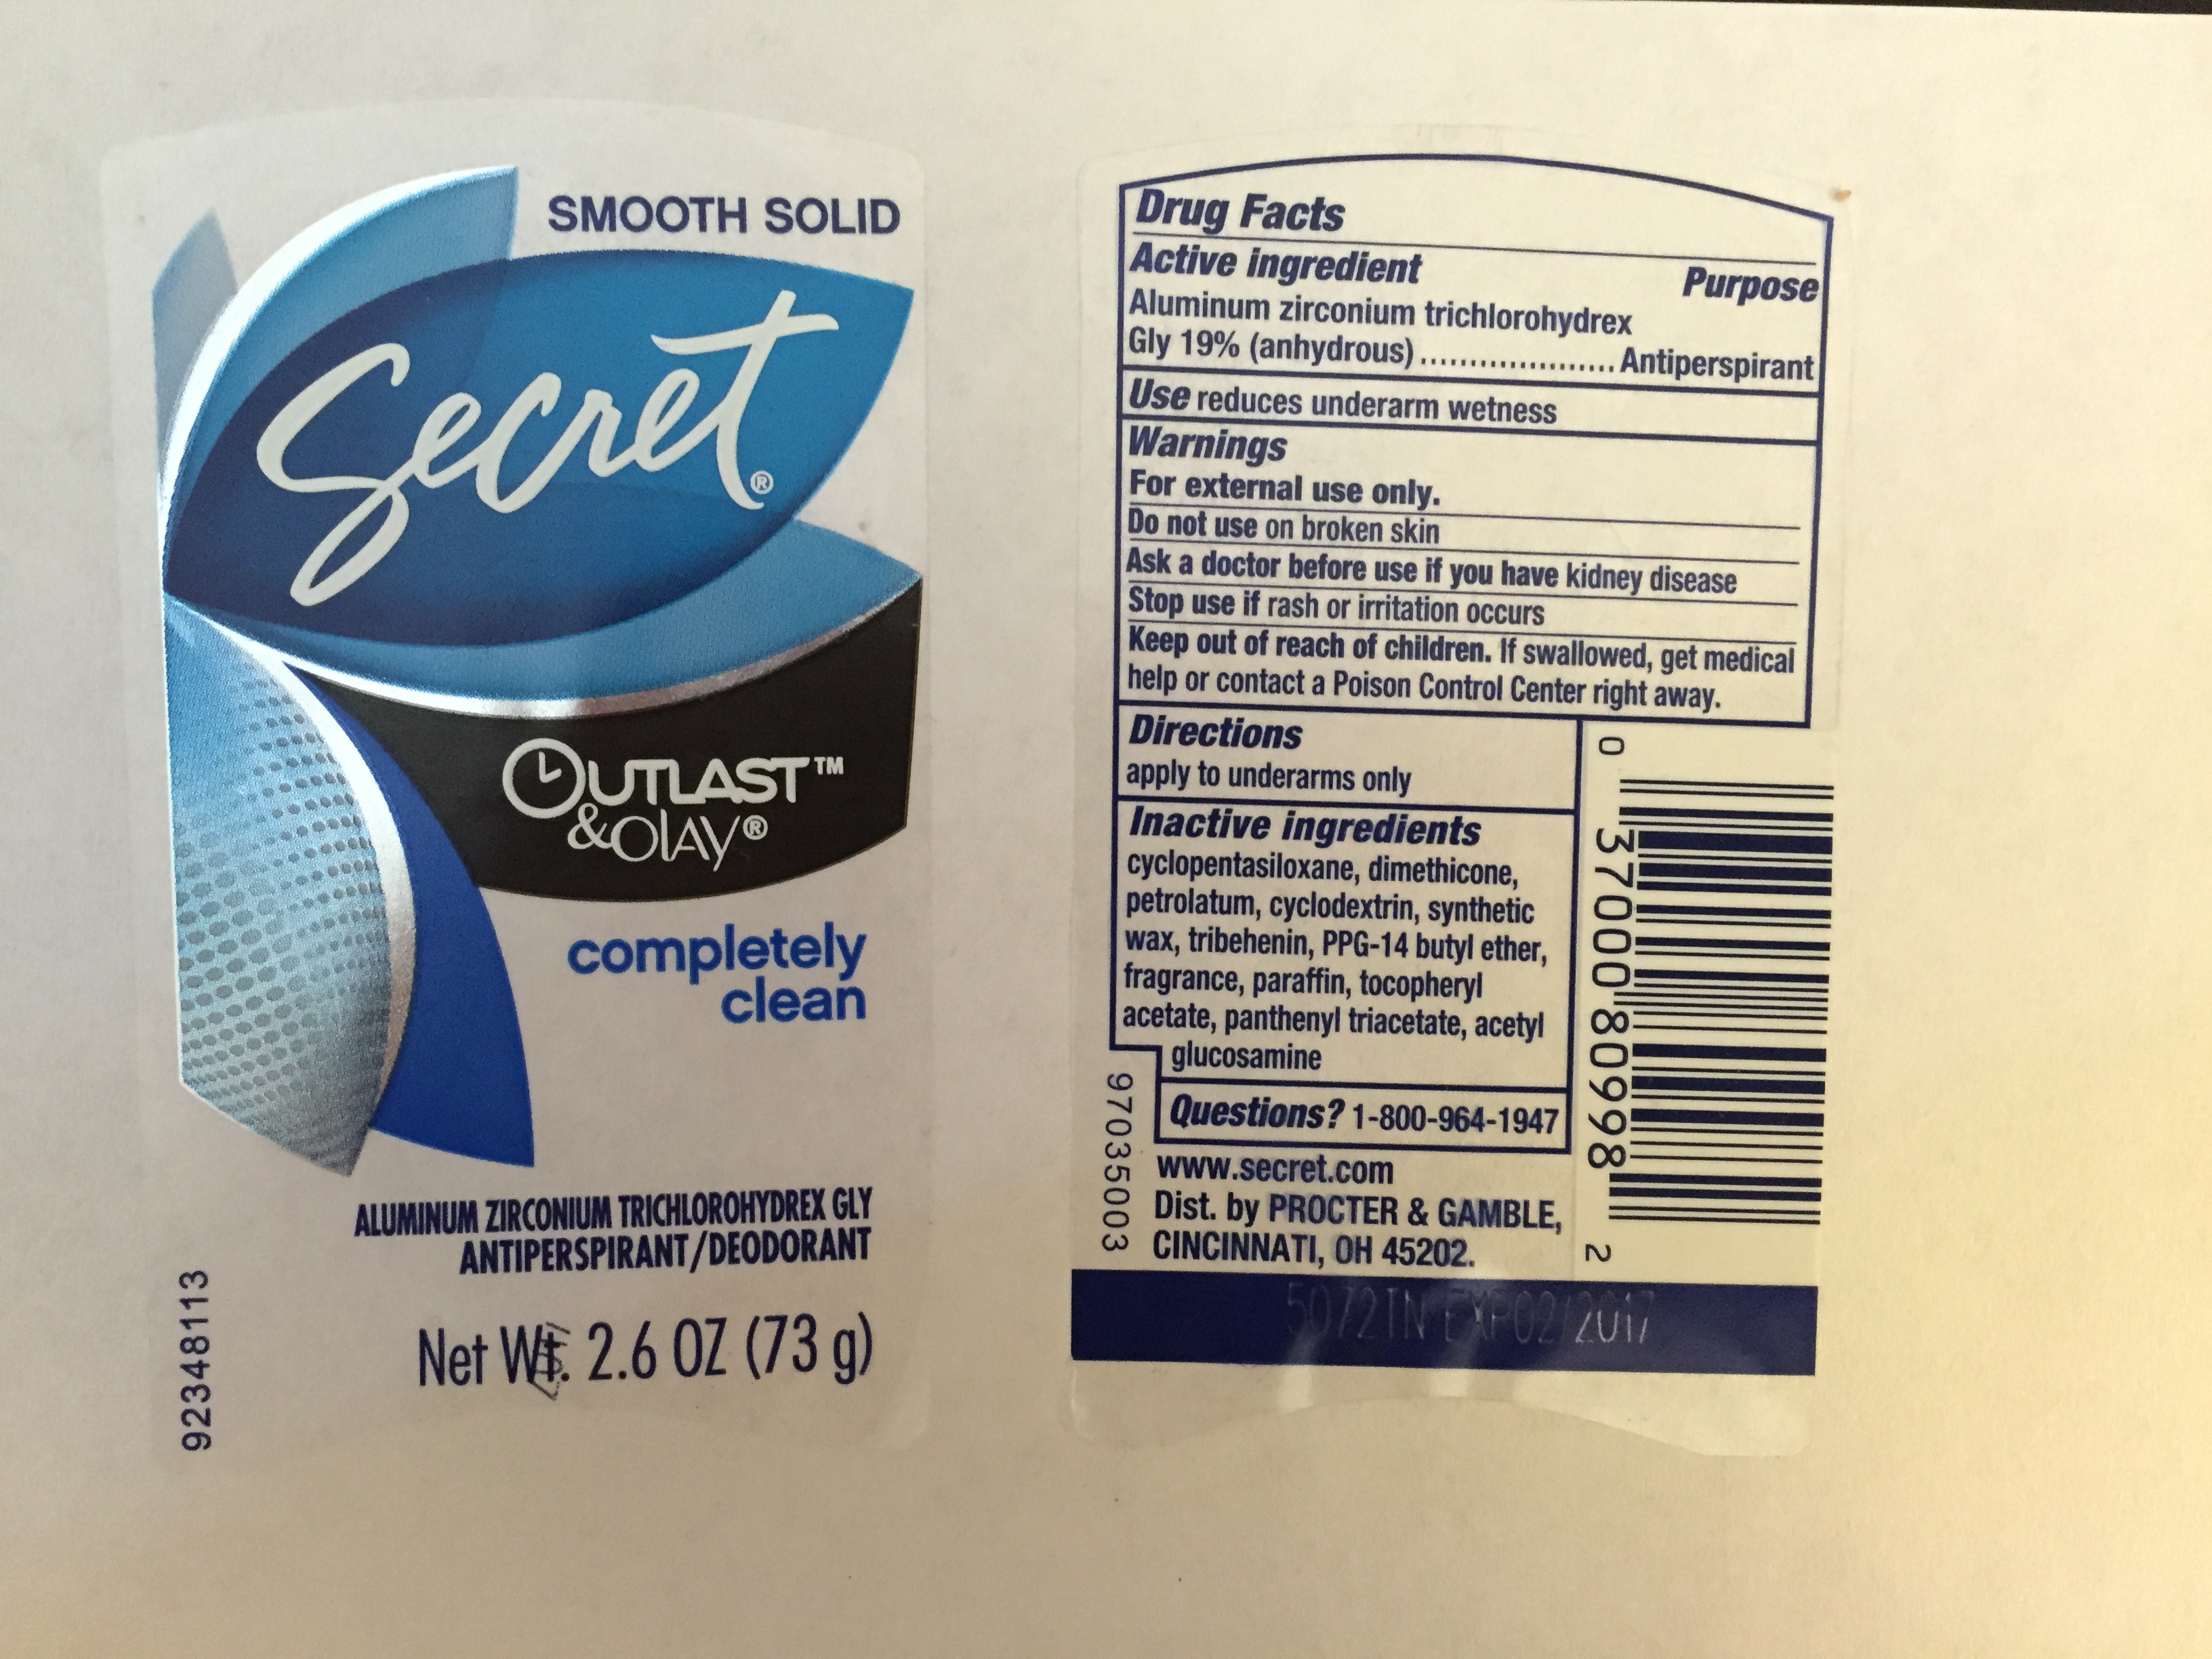
Then, this is going to seem ridiculous, but you also need a Secret invisible solid container. The reason you need this container is because the inner mechanism which moves the deodorant up (and in our case moves back down to be refilled) only goes two ways in this type of deodorant stick. In the smooth solid type it is made to only go one way. I managed to break it after a few days, so clearly that didn't work well. Having the second container to put the caps from the first container on was a perfect solution.

Also, in case it seems silly to waste the deodorant you're buying for the containers, bear in mind that you can reuse the same container every time you make this recipe. So for a $7 investment it is well worth it.

Preparing your deodorant container:

1. Remove the outer cap from your smooth solid deodorant.

2. Remove the inner cap, the one that has holes in it to evenly dispense the deodorant. You may throw away the actual stick and container of deodorant, you don't need the smooth solid one, just the caps.

3. Set both of these caps aside.

4. Remove the cap from the invisible solid container and throw it away.

5. Wind the deodorant all the way out and remove the stick of deodorant from the container. 

6. Now this will seem odd, but I promise it works and melts nothing. To remove the remaining deodorant, fill a pot with water and place it on the stove. Put the container in the water and bring the water to a boil. Check the container and flip it over occasionally until all the deodorant is gone.

7. Clean your pot with hot water and a good soap like Dawn Dish Soap.

8. Let your container cool off and if your deodorant has been cooling for an hour pour it into the container. Replace the inner cap and set the deodorant in a safe place and let it set for about 23 more hours. 

9. Replace the outer cap to store.

10. Use as you would normal store bought deodorant.

Congratulations! You are now one step closer to a naturally glamourous lifestyle.